
Get Your Framing Right
House Crafter’s of Buffalo and Western New York is your Home Improvement Company!
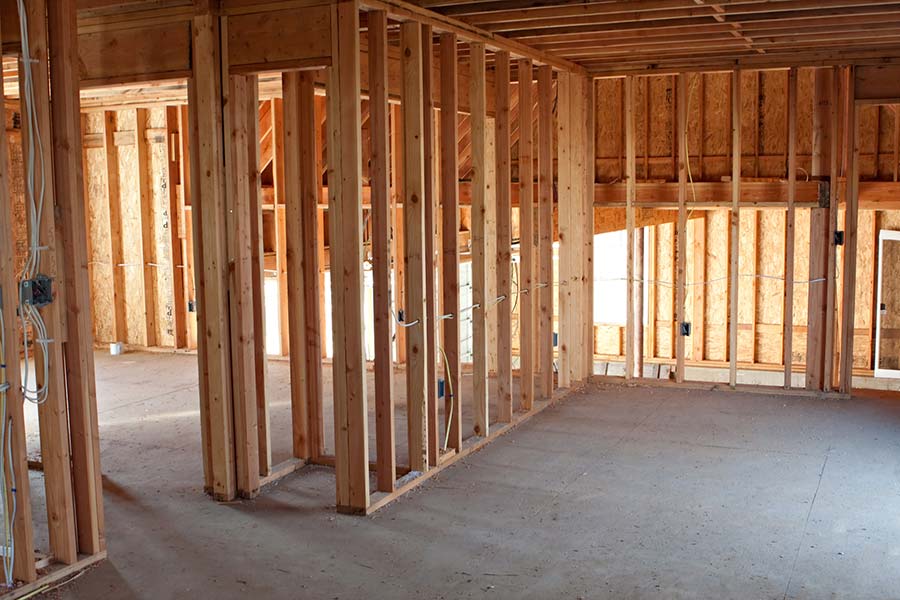
1. Lay Out the Lumber
It’s much easier to build the wall frame on the floor, then pivot it up into position. Lay out the 2” x 4”s for the wall frame with the studs 16″ apart (measured on center). Use pressure-treated lumber for any part of the frame that will come in contact with concrete; for this basement wall, that means the sill and one of the end pieces. If this wall will have a door, leave one or two studs out of the layout to make space for it.
2. Build the Frame
Use a framing nailer to attach the framing members to create the wall. Nail through the sill and header into the studs for stronger joints.
3. Frame the Door
If the wall will have a door, lay out the lumber for the frame. The door frame will consist of two king studs, which run the entire height of the wall frame; two jack studs, which fit inside the king studs and are the same height as the door casing; and a horizontal header across the top of the door. Cut and dry-fit the lumber, making sure the distance between the jack studs is correct for the door casing. Nail the king studs in position, then nail the jack studs into the king studs and attach the header (Image B).
4. Mark the Wall Position
Tilt the completed frame upright and shift it out of the way. Snap a straight chalk line on the floor to show the wall’s desired position. Use a long level and a pencil to extend the line up the wall. If the new wall will attach to a framed wall, make sure it will be positioned at a stud. If it’s attaching to a concrete block wall, position the wall so it lines up with the middle of the blocks.
5. Attach the Wall to the Floor
Move the wall into place. Attach the wall to the floor before attaching to the other walls. To secure the wall to the concrete floor, use a drill with a masonry bit to drill a pilot hole through the pressure-treated sill and into the floor. Use a hammer to pound 2-1/2″ hard-cut masonry nails through the pilot holes and into the floor.
6. Attach the Wall to the Other Walls
Nail the wall frame to the walls on either side. If attaching to a concrete block wall, drill pilot holes and nail into the center of the concrete blocks, where the blocks are the strongest. Don’t nail into the joints between the blocks; it’s not secure. When attaching to a wood-frame wall, make sure to nail into a stud.
7. Attach the Top of the Wall
Cut short blocks of 2″ x 4″ lumber to fit snugly between the floor joists above the wall. Use a nail gun to install these blocks between the joists so they fit snugly against the top of the wall, then nail up through the wall frame into the blocks. Skew or toenail into the blocks if needed.